

When it comes to making your photos pop, image editing is your best friend. Whether you’re touching up family photos, creating content for social media, or enhancing images for your blog, mastering a few key editing techniques can take your visuals from drab to fab. Let’s dive into some easy image editing tips that will help you achieve stunning results every time! Learn the best info about ai image editor nano banana.
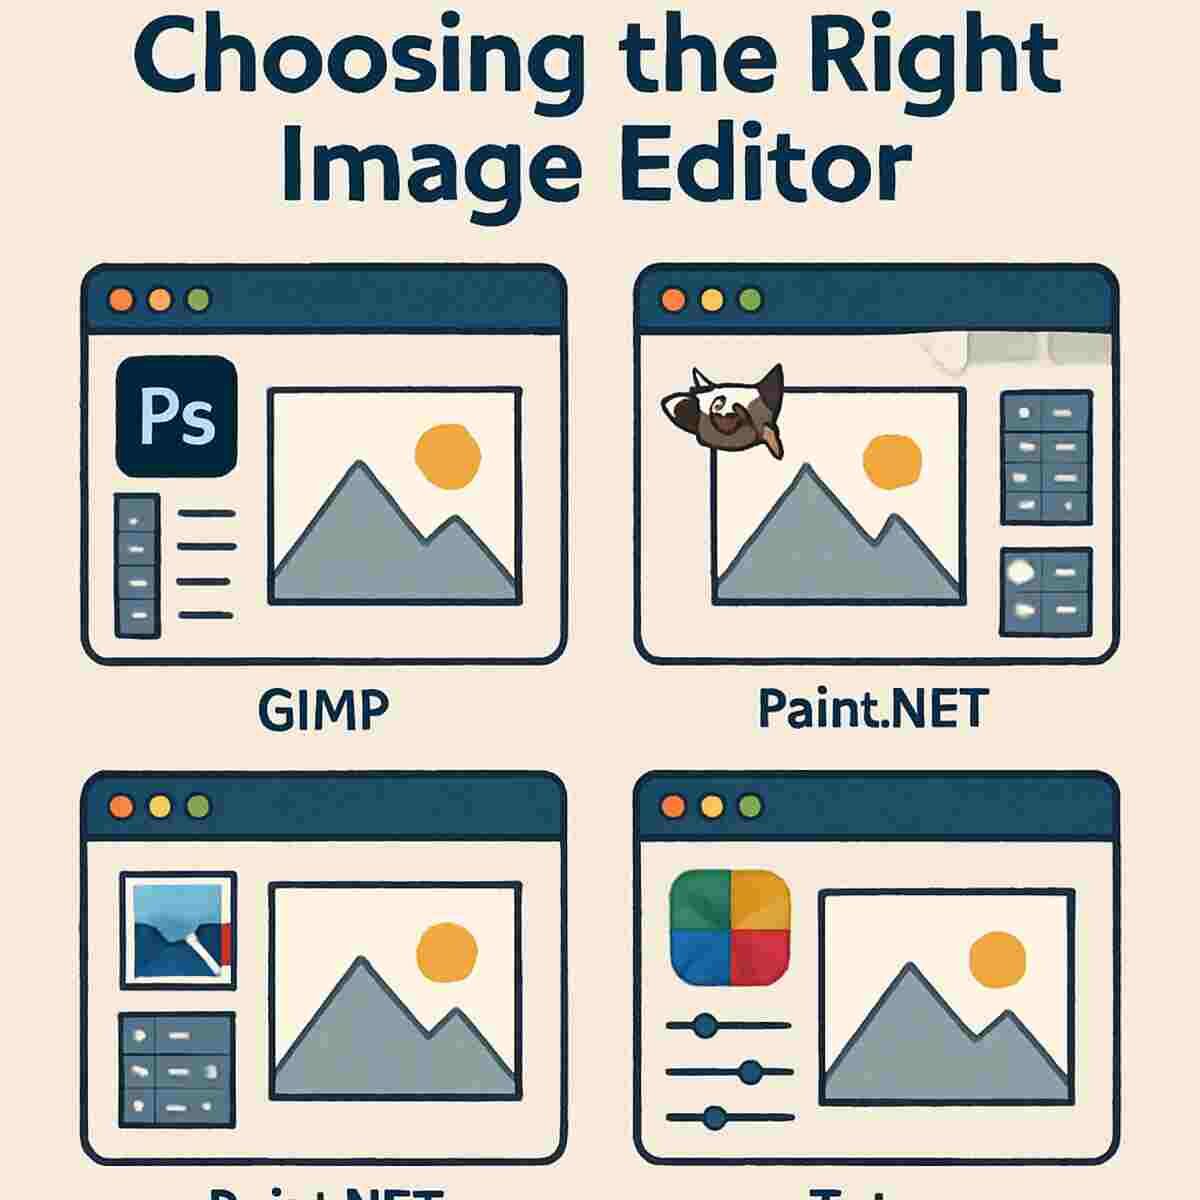
First things first, you need to pick the right tool for your editing needs. There are plenty of options out there, from robust desktop programs to quick and easy online tools. Here’s a comprehensive guide to help you make the best choice:
Desktop Image Editors
For those who want all the bells and whistles, desktop image editors like Adobe Photoshop or GIMP are excellent choices. These programs offer a wide range of tools and features, perfect for detailed and professional edits. With options for layers, masks, and a plethora of filters, they are ideal for users who want complete control over their editing process. However, they can be a bit overwhelming if you’re just starting, so taking the time to learn the basics is crucial.
Additionally, desktop editors often require a one-time purchase or subscription, which is an important consideration for your budget. They also need a significant amount of computer resources, so ensure your hardware meets the requirements for smooth operation. On the plus side, once you become proficient, these tools can elevate your editing to a professional level, offering capabilities that are unmatched by simpler tools.
Online Image Editors
If you prefer something more straightforward and accessible, online image editors like Canva or Pixlr are great options. These tools are user-friendly and have plenty of templates and tools to make editing a breeze. They operate directly in your web browser, so there’s no need for installation, which is a boon for those who work across multiple devices or have limited storage space.
Online editors often have free versions with essential features, making them perfect for beginners or occasional users. They also frequently update their platforms with new templates and features, keeping your editing experience fresh and innovative. While they might lack some of the advanced features of desktop editors, their ease of use and accessibility make them a popular choice for many.
AI Image Editors
For the tech-savvy, AI image editors like Luminar AI or Fotor can automate many of the editing tasks, making your job easier and faster. These tools use artificial intelligence to enhance your images with just a few clicks, offering suggestions and adjustments tailored to your photo’s needs. They are perfect for quick edits or when you want to enhance a photo without spending too much time on manual adjustments.
AI editors are particularly useful for batch processing, allowing you to apply consistent edits across multiple images effortlessly. They also come with unique features like sky replacement or automatic skin retouching, which can save you hours of manual work. While they might not offer the same level of precision as manual editing, they provide impressive results with minimal effort, making them a valuable addition to any editor’s toolkit.
Basic Editing Techniques
Now that you’ve chosen your editor, let’s get into some basic techniques that can make a big difference. These foundational skills will improve your photos and give you a strong starting point for more advanced edits.
Cropping
Cropping is one of the simplest ways to improve your photos. It helps you focus on the main subject and remove any distracting elements from the background. Most image editors have an easy-to-use cropping tool, so play around with it to see how it can transform your images.
When cropping, consider the rule of thirds to create a more balanced and engaging composition. This involves dividing your image into nine equal parts using two horizontal and two vertical lines, and placing the subject along these lines or their intersections. Cropping can also change the aspect ratio of your photo, which is useful for different platforms or print sizes.
Adjusting Brightness and Contrast
Sometimes, a photo might be too dark or too light. Adjusting the brightness and contrast can help bring out details and make colors more vivid. Be careful not to overdo it, though — you want your images to look natural, not washed out or overly shadowed.
Start by slightly increasing the brightness to reveal details hidden in shadows, then adjust the contrast to make the colors pop. Keep an eye on the histogram, a graphical representation of the tonal values in your image, to ensure you don’t lose details in the highlights or shadows. A well-balanced brightness and contrast adjustment can significantly enhance the overall look of your photo.
Enhancing Colors
Boosting the colors in your photo can make it more vibrant and eye-catching. Most image editors allow you to adjust the saturation and vibrancy, so experiment with these settings to find the perfect balance.
Saturation increases the intensity of all colors, while vibrancy targets only the muted colors, preserving skin tones and avoiding an unnatural look. Use these tools to enhance the mood of your photo, whether it’s a warm sunset or a cool, crisp winter scene. Remember, subtlety is key; over-saturating can make your image look unrealistic.
Sharpening
Sharpening your image can help bring out details and make it look crisper. However, a little goes a long way — too much sharpening can create unwanted noise or make your photo look unnatural.
Focus on sharpening the edges of your subject where detail is most important, and avoid over-sharpening areas with smooth textures like skin or the sky. Most editors offer sliders to control the amount and radius of sharpening, so adjust these settings carefully. It’s often best to view your image at 100% to accurately assess the effect of sharpening on your photo.
Advanced Editing Techniques
Once you’ve mastered the basics, you can start exploring more advanced techniques to really make your images stand out. These methods offer greater control and creativity, allowing you to refine your edits and experiment with artistic effects.
Using Layers
Layers are a powerful feature in many image editors that let you work on different parts of an image separately. This means you can make changes without affecting the entire photo, giving you more control over the final result.
Each layer can contain different elements, such as adjustments, text, or images, and they can be reordered, hidden, or blended to achieve your desired effect. Understanding how to use layers effectively opens up endless possibilities for complex edits and compositions. Practice creating and manipulating layers to refine your editing skills and produce professional-looking results.
Masking
Masking allows you to hide or reveal parts of a layer, offering even more precision in your edits. This is especially useful for complex edits like replacing backgrounds or adding effects.
Masks can be adjusted using brushes to paint areas you want to hide or reveal, providing a non-destructive way to edit your images. This means you can experiment freely without permanently altering your photo. Mastering masking techniques can greatly enhance your editing capabilities, allowing for seamless blends and creative effects.
Filters and Effects
Adding filters or effects can give your photos a unique look. Whether you want a vintage vibe or a modern touch, filters can help you achieve the desired aesthetic. Just remember to use them sparingly — you want your photos to enhance your story, not distract from it.
Explore the range of filters available in your editor, and consider combining multiple filters for custom effects. Understanding how to adjust the intensity and parameters of each filter can help you create subtle, tasteful enhancements that complement your photo’s theme. Filters are a fun way to experiment with different styles and moods in your photography.
Retouching
Retouching tools help you remove blemishes, smooth skin, or fix other imperfections. If you’re working on portraits, this can make a huge difference in the final result. Most editors have tools like healing brushes or clone stamps for this purpose.
Approach retouching with a light hand to maintain a natural appearance. Focus on enhancing, rather than completely altering, the subject’s features. Practice using these tools to improve your efficiency and precision, ensuring your edits remain seamless and realistic. Retouching can elevate your portrait photography, providing polished and professional results.
Practical Tips for Stunning Results
Keep It Simple
Less is often more when it comes to image editing. It’s easy to get carried away with all the tools at your disposal, but try to keep your edits subtle and purposeful.
Focus on enhancing the strengths of your photo and addressing any major issues without overcomplicating your edits. Simplicity often leads to more impactful and visually pleasing results. Prioritize the overall harmony and balance of your image, keeping your audience’s attention on the main subject.
Maintain Originality
While editing can enhance your photos, maintaining the authenticity of the original image is crucial. Avoid over-editing, as it can lead to an unnatural look that strays too far from reality.
Embrace the imperfections and unique qualities of your photo, using editing to enhance rather than overshadow them. Consider the story or emotion you want to convey, ensuring that your edits support rather than detract from this narrative. Striking the right balance between enhancement and authenticity is key to successful image editing.
Practice Makes Perfect
Like any skill, the more you practice, the better you’ll get. Take time to explore your editor’s features, experiment with different techniques, and develop your own editing style.
Set aside regular time for practice, focusing on specific techniques or projects that challenge your skills. Analyze the work of other photographers and editors for inspiration and learning. Over time, you’ll develop a keen eye for detail and the confidence to tackle more complex editing tasks.
Stay Updated
Technology is always evolving, and so are editing tools. Keep an eye out for updates and new features in your chosen editor to stay ahead of the curve.
Subscribe to newsletters, follow industry blogs, or join online communities to stay informed about the latest trends and advancements in image editing. Continuous learning and adaptation will ensure that your editing skills remain current and competitive. Embrace new tools and techniques as they emerge, integrating them into your workflow to enhance your editing capabilities.
Conclusion
Image editing is a powerful tool that can transform your photos into stunning visuals. By choosing the right editor, mastering basic and advanced techniques, and following practical tips, you’ll be well on your way to creating images that captivate your audience.
So, grab your favorite image editor and start experimenting with these tips. You’ll be amazed at what you can create with a little practice and creativity! Happy editing!